Showing posts with label Tied with a Ribbon patterns. Show all posts

Sunday, July 16, 2023

"Make" a Love Triangle Quilt

Have you seen the amazing work by Kristy at Quiet Play - I am sure that you have as she is not only a Pattern Designer who specialises in Foundation Paper Piecing but also a Rainbow lover, Online Quilting teacher and a Fabric Designer.

Make is Kristy's 4th Fabric collection for Riley Blake and it is full of all the amazing rainbow yumminess you have come to expect from Kristy.  This collection features all your favourite sewing and quilting notions think Sewing machines, seam rippers, scissors as well as fabrics featuring sewing and quilting words and other notions all showcased in rainbow colour order. It's made up of 24 prints celebrating those beloved tools of our trade.


I was invited by Kristy to be part of the Make Blog Tour and be a part of working with this collection to showcase and to give you some inspiration for how you might like to use this collection which is now arriving in stores. 

As this collection is all about the sewing and Quilting notions it seemed very appropriate to make a Love Triangle Mini Quilt that I can hang in my sewing studio.

I decided to use the "Snip Snip" print in Black for all the shadowing on my lettering.  This design uses EQ Triangles and is such a loved design of mine.  Paired with the 'Snip Snip' I used the more Solid style fabrics to create this fun and vibrant colour palette.  For the Background fabric I used "Maker" in White.

This Love Triangle Quilt was so fun to make and I love how quickly this design works up and packs such a much.  Perfect for Sewing spaces, Quilting Studios or even to make for Mini Quilt swaps or for your sewing/quilty friend then you will love making this design and with such beautiful fabrics you will want to be adding "Maker" to your next fabric purchase. 

And how perfect is Kristy's "Rainbow Stripe" in Black.  I love how this print is so great for Binding and how well it ties together in the colours from this collection.  I mean you can never have enough stripes in your fabric stash let alone Rainbow Stripes, am I right! And of course I couldn't help but add one of my LOVE Woven Labels for the perfect finishing touch.


Make is now available in stores - check out your Local Quilt store and make sure you add some to your stash.

Pattern - Love Triangle Quilt


Happy Quilting
Jemima x 


Thursday, April 6, 2023

Guest Blog Post by Danielle @the.reds.quiltco all about her Heatwave Quilt


Guest Blog post by Danielle of @the.reds.quiltco

When Jemima reached out to me about testing her Heatwave Quilt pattern, I knew that I wanted to use a variety of prints and solids in the same colour family. Blue is my absolute favourite colour of fabric to work with so it was an obvious choice! I knew I would have a good variety of blues to choose from in my stash and they also played well on the wave design of the pattern. 

I gathered about 10-12 potential fabrics and then narrowed them down from there to the seven that I used for my quilt top. A last minute additional pop of navy polkadot for the binding made for eight blue fabrics in total. I wanted to add variety to the texture of the fabric as well, so my final pull was made up of quilting cottons, chambray and even a muslin print that tied the light and dark blues in the quilt together. 


Making the Heatwave Quilt pattern was the first time I had ever used a triangle template to cut out my fabrics. I really had no idea how using a template would compare to the regular cutting process but I was so pleasantly surprised! With each fabric starting out as strips then getting cut down into the exact same size triangle, I couldn’t believe how quickly the cutting went. Plus, it was a welcome change for me from cutting rectangles and squares!


Quilt top construction is pieced rows that eventually join together to make the full design. My design wall wasn’t big enough to hold the full layout for the quilt so I just kept my fabrics organized in stacks on my cutting table and pulled from them one row at a time. I sewed and pressed each completed row fully before moving onto the next one and was able to stay really organized throughout row construction. I also made sure to take the extra time to pin each set of rows before sewing them together. I don’t always have the patience for pins but to ensure that the rows all met up perfectly and the wave design finished in crisp, solid sections, it was well worth the time spent.


Once the top was finished, I chose to do 3/4 inch straight-line quilting on the diagonal to mimic the angles of the wave design. I wanted the quilting to add a lot of texture and eventual crinkle, while not distracting from the bold lines of the design itself. I chose a white thread that stood out in some sections and blended in for others, depending on the fabric colour it landed on. I backed it in a warm cozy flannel because I live in Canada and the winters can be long here! Happy to report that my Heatwave Quilt is currently the most fought over one in our living room - so I’d say it was a very successful project!


Such a BIG thank you to Danielle for sharing all about her Heatwave Quilt.  You can check out Danielle on Instagram here at @the.reds.quiltco 

Sunday, March 26, 2023

Heatwave - it's getting HOT in here!

Nervousness, excitement, trepidation... Thankfully, release time is also SUPER busy, so I'm able to channel those emotions into the work that has to be done in the lead-up. 

Of course, as I'm releasing one project, I'm always working on something else behind the scenes, and it's been no different this time, but this week it's all about Heatwave! 


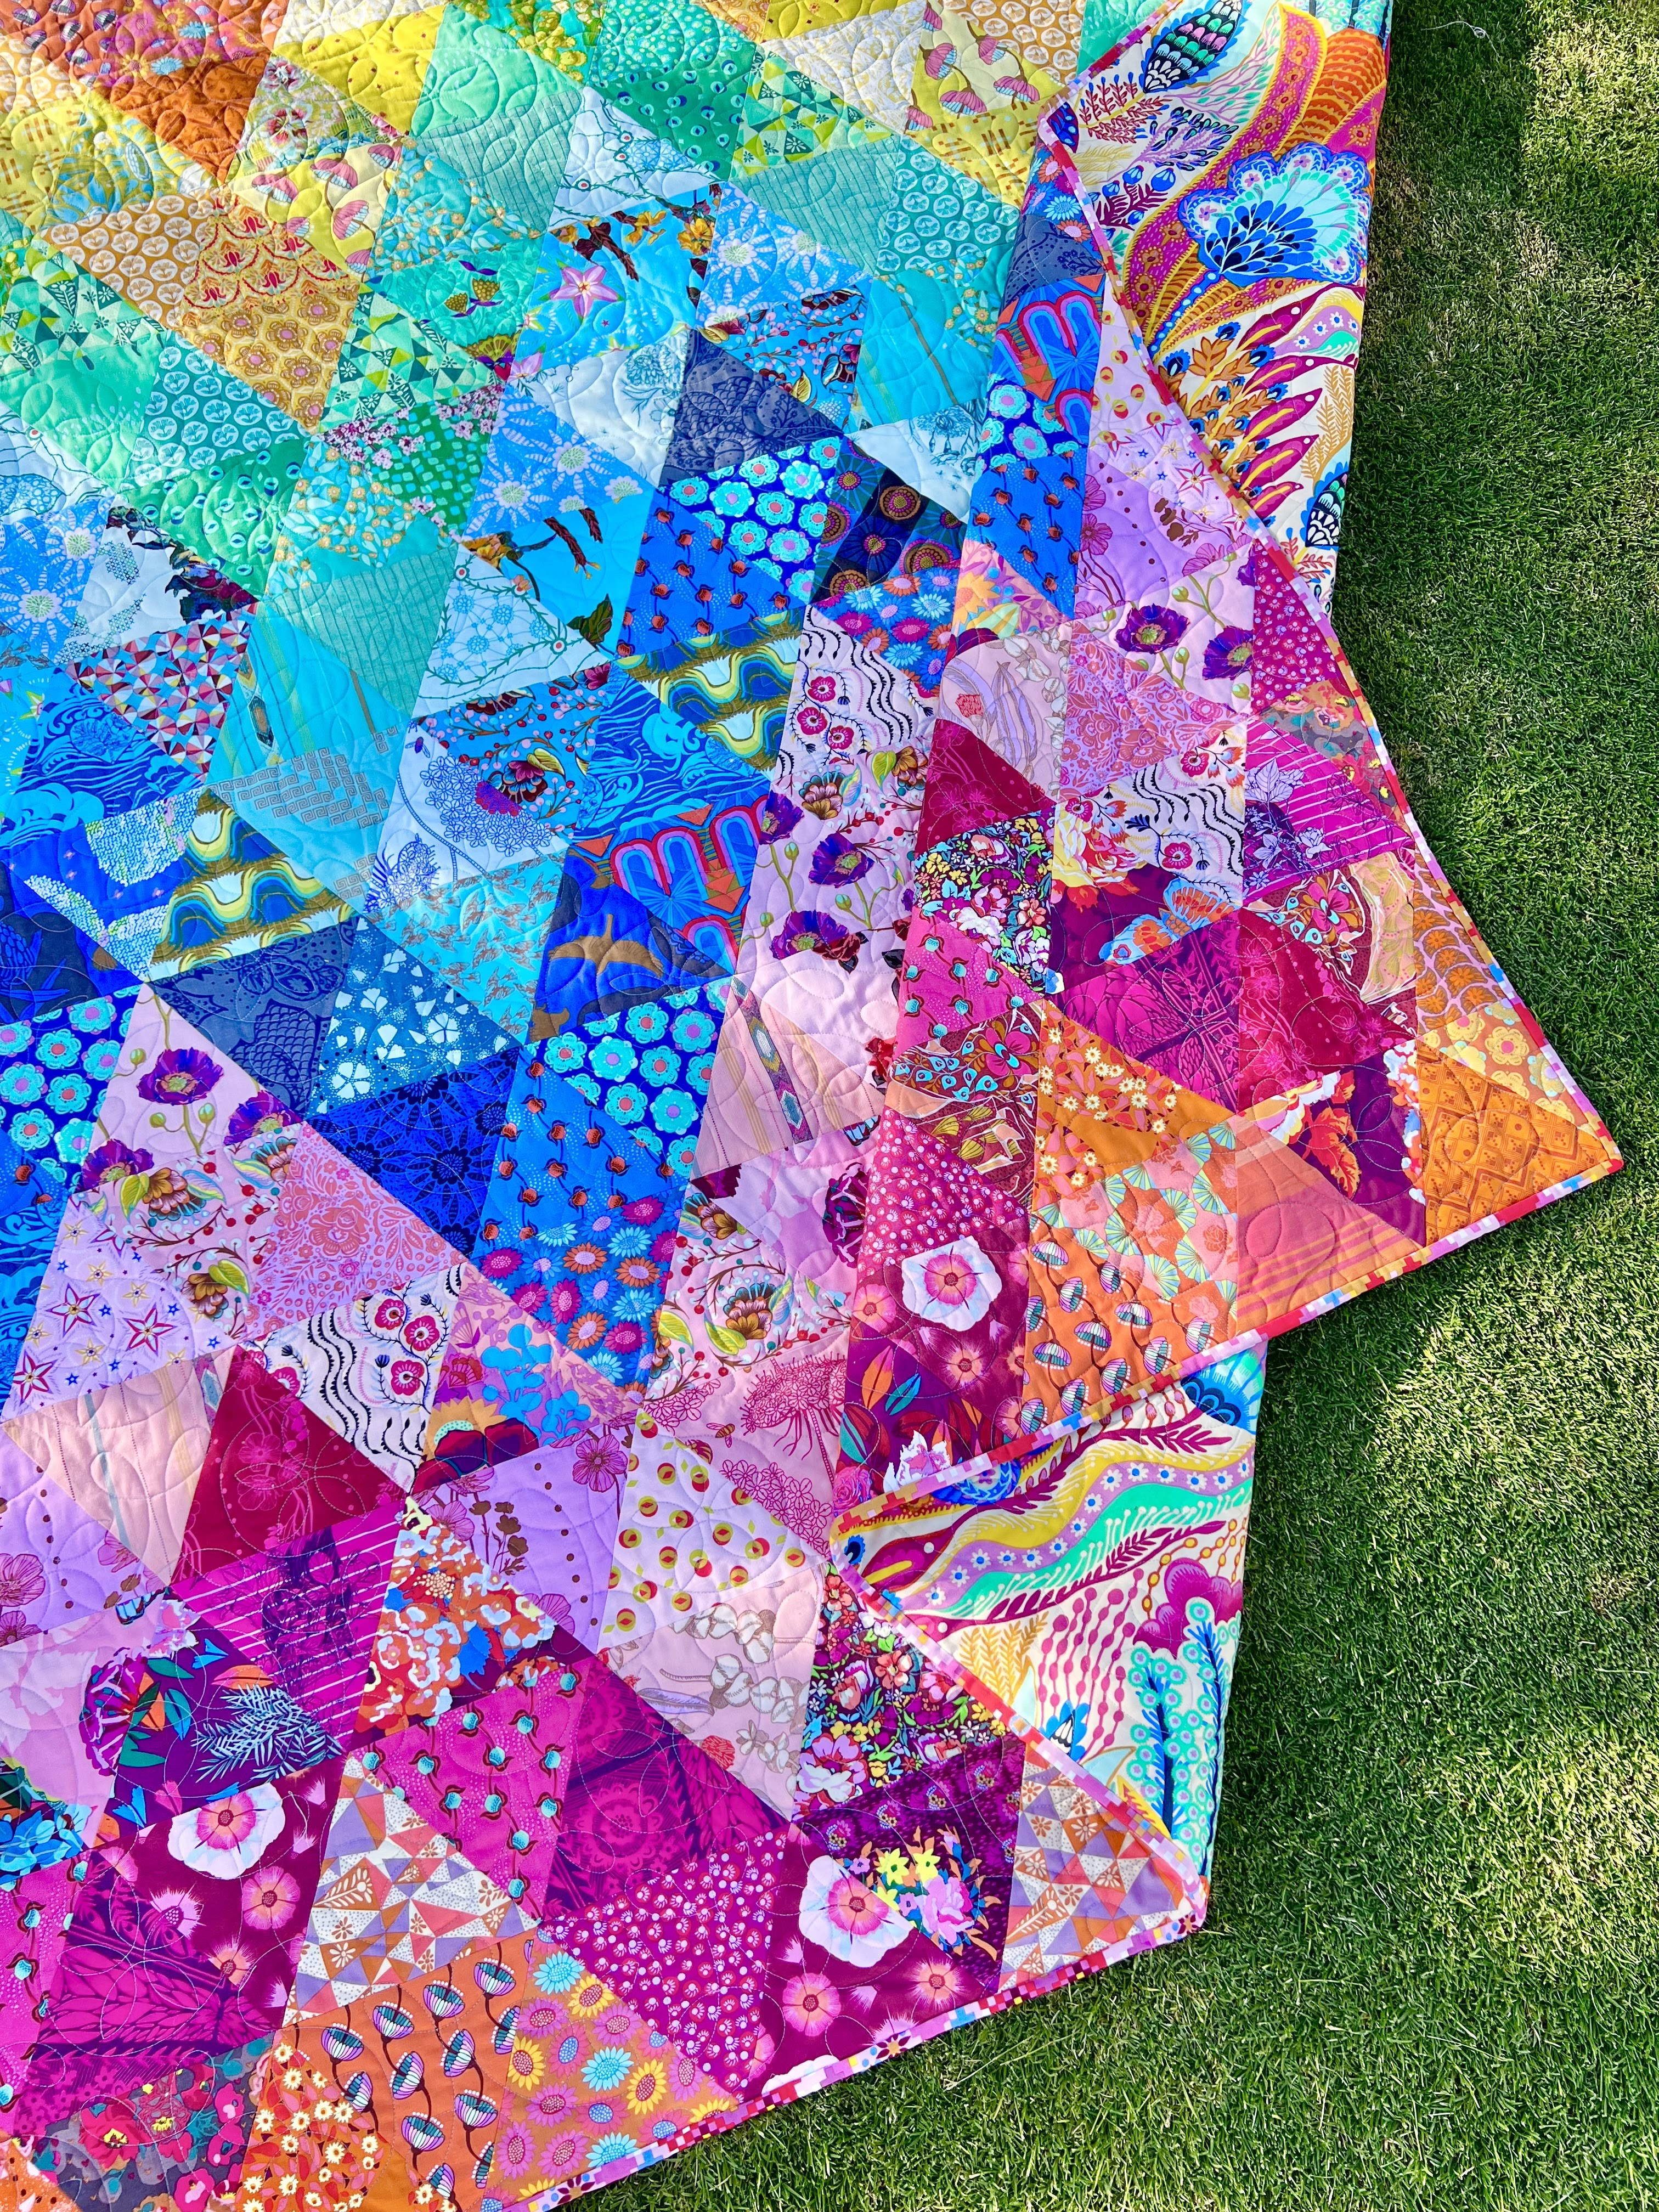
Heatwave is here (and it's SUPER HOT!) Designed for maximum impact, the Heatwave Quilt works well with a range of fabric choices - a combination of your favourite bold solids, the prints in a specific fabric collection, or fabric scrap magic (like my Anna Maria Horner version below). 


Three sizes are included in the pattern: Baby quilt - finished size 49½in x 52½in or 126cm x 134cm Throw quilt - finished size 69½in x 71½in or 177cm x 182cm Large Queen quilt - finished size 98½in x 104½in or 250cm x 265cm. 

There are clear set out instructions with illustrations and photos to help you with your machine piecing of this quilt. Suitable for beginner quilters or quilters of any level. This design is made using Equilateral Triangles. And there is even a Bonus Pillow pattern included for you to complete the set.


The Heatwave Quilt Pattern includes: 

  • Illustrations and photos
  • List of Fabric requirements
  • Cutting Instructions
  • Sewing Instructions
  • Pressing Tips
  • Layout and Assembly instructions
  • Binding instructions
  • EQ Template pages
  • BONUS Pillow Pattern
Whether you want to give Equilateral Triangles a go for the first time (don't worry, they're not as tricky as they seem!), or you've tried one of my other designs (End Game, Labyrinth or Love Triangle) you now have a new EQ design to add to your project list! 

To keep things really easy, you can buy the matching EQ templates in my store. They've had a bit of a glow-up with new packaging and are looking pretty schmick, as you can see! And don't forget the BONUS pillow pattern that's included! 


Check out all my tips for sewing with equilateral triangles in my blog post here.

“This design is modern, fun to piece, and comes together quickly with Jemima’s clear instructions and step-by- step diagrams. I couldn’t believe how easy it was to cut and piece the triangles that make up this pattern. It’s a thing of beauty, sewing friends!” Lauren @sewlosew

"This was my first time working with equilateral triangles in a quilt. The strong visuals and clear instructions in the pattern helped me to feel confident at each step of the process and made piecing triangles a breeze. I couldn't believe how quickly the quilt top came together once I got going!"    Danielle @the.reds.quiltco

The Heatwave Quilt pattern is out now.

Available as a PDF Pattern or Paper Pattern in my Store.

Wholesale customers can purchase through Creative Abundance or Checker Distributors.

Please tag me @tiedwitharibbon with your #heatwavequilt so that I can see the beautiful versions you make.

Happy Quilting 
Jemima x x

Sunday, March 12, 2023

Equilateral Triangles - My Best Tips and Tricks

I have a real love for designing Equilateral Triangle Quilt patterns – some of my popular designs such as my End Game Quilt and Love Triangle Quilt use these EQ Triangles as the basis for the design.  

I understand that these can often feel intimidating or just maybe a little bit tricky - cut I am here to share with you some of my best Tips and Tricks so that you can tackle Equilateral Triangle's with ease - and see that they really aren't that tricky.


You have seen all the Equilateral Triangles all over the Internet and Pinterest and wondered how do makers achieve all those perfect points? You have tried to put some Equilateral Triangles together but none of your points meet and it doesn’t come together how you imagined!


I have taught many Workshops on Tacking Equilateral Triangles, so I am here today to share with you some of my best tips for sewing with Equilateral Triangles to get perfect points every time.


My top tips for Perfect points.


1. Pressing 
Use a Starch Spray (I love Best Press) to help starch all your fabrics before you press them all.  This will help flatten your fabrics and make your fabric “feel” nice and firm to cut.  You will also notice how this helps the bias in the EQ Triangles stay as firm as possible for when it comes to sewing your Equilateral triangles. 

2. Cutting 
It’s best to make sure that you start on the right track. Before you begin to cut you will want to ensure your Templates are accurate.

Begin cutting our your project with a nice sharp blade in your Rotary cutter and take your time.  Accuracy in cutting will help at the next step of sewing.  Rushed cutting can snowball and turn into pieces that don’t align as you sew so your patience will be rewarded.


3. Not all Rulers are created Equal
Ruler – There are many rulers on the market and again this is important to test any ruler size you have against any paper Template provided. Always double check alongside the given paper template in the pattern (check the size scale – 1in square).  

Also, if your ruler is “Top Trimmed” - meaning it has flat points – cut these off when cutting out your pieces.  These will help you line up your seam allowance.

4. Sewing  
When it comes to sewing your EQ triangles together - match your points at the seam intersection (not along the raw edge of the fabrics). Place a pin where the seam meets at 1/4in to hold these points together. I like to put my pin through on a diagonal to hold down seam allowances from either side.

Sew the seam through where the points intersect. You may need to sew slightly scanter or wider at this point, so your stitch runs exactly through this point. 


With these helpful tips you will find it easy to tackle Equilateral Triangles.

If you have found these tips for sewing Equilateral Triangles helpful, then you will want to sign up for my Newsletter which is always full of helpful quilting tips and tricks.  

Sign up to my Newsletter here

When you sign up, you will receive a 20% Discount code that you can use Storewide in my store.  In my Newsletter there is lots of information about all my upcoming patterns, special offers, where I will be teaching as well as great tips and tricks to help improve your quilting.

Happy Quilting

Jemima x

Sunday, November 27, 2022

Christmas handmade gifting in no time at all

At this time of year as Christmas and the Holiday season is just right round the corner, time seems to be short on for most.  It's such an amazing time of the year to gift to those we love and especially when those gifts are handmade making it all the more precious.

But with not long to the big day I am here with my top picks for beautiful, quilt and fast to make gifts you can sew in next to no time to have ready for under the tree.  

Great hat pattern to make for the kids

Make this for your baking loving friends or to fancy up your own cooking

perfect for the teenager or scrunchie loving friend

for your sewing and quilting loving friends or yourself

for all the kids you sew and gift for

perfect for all those gifts under the tree - both big and little kids

perfect for everyone

And how about some FREE Tutorials that you can find on my Blog.  Sure they may be oldies but boy are they still goodies.

I hope you enjoy sewing up these super quick and super fun projects.

Happy Quilting
Jemima x 

Related Posts Plugin for WordPress, Blogger...