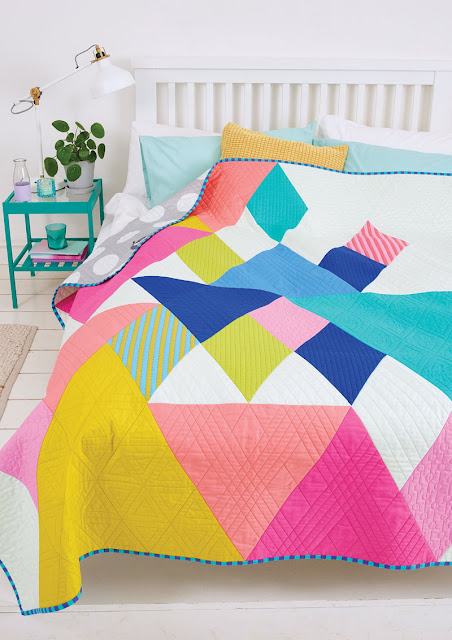
I have a real love for designing Equilateral Triangle Quilt patterns – some of my popular designs such as my End Game Quilt and Love Triangle Quilt use these EQ Triangles as the basis for the design.
I understand that these can often feel intimidating or just maybe a little bit tricky - cut I am here to share with you some of my best Tips and Tricks so that you can tackle Equilateral Triangle's with ease - and see that they really aren't that tricky.
You have seen all the Equilateral Triangles all over the Internet and Pinterest and wondered how do makers achieve all those perfect points? You have tried to put some Equilateral Triangles together but none of your points meet and it doesn’t come together how you imagined!
I have taught many Workshops on Tacking Equilateral Triangles, so I am here today to share with you some of my best tips for sewing with Equilateral Triangles to get perfect points every time.
My top tips for Perfect points.
1. Pressing
Use a Starch Spray (I love Best Press) to help starch all your fabrics before you press them all. This will help flatten your fabrics and make your fabric “feel” nice and firm to cut. You will also notice how this helps the bias in the EQ Triangles stay as firm as possible for when it comes to sewing your Equilateral triangles.
2. Cutting
It’s best to make sure that you start on the right track. Before you begin to cut you will want to ensure your Templates are accurate.
Begin cutting our your project with a nice sharp blade in your Rotary cutter and take your time. Accuracy in cutting will help at the next step of sewing. Rushed cutting can snowball and turn into pieces that don’t align as you sew so your patience will be rewarded.
3. Not all Rulers are created Equal
Ruler – There are many rulers on the market and again this is important to test any ruler size you have against any paper Template provided. Always double check alongside the given paper template in the pattern (check the size scale – 1in square).
Also, if your ruler is “Top Trimmed” - meaning it has flat points – cut these off when cutting out your pieces. These will help you line up your seam allowance.
4. Sewing
When it comes to sewing your EQ triangles together - match your points at the seam intersection (not along the raw edge of the fabrics). Place a pin where the seam meets at 1/4in to hold these points together. I like to put my pin through on a diagonal to hold down seam allowances from either side.
Sew the seam through where the points intersect. You may need to sew slightly scanter or wider at this point, so your stitch runs exactly through this point.

With these helpful tips you will find it easy to tackle Equilateral Triangles.
If you have found these tips for sewing Equilateral Triangles helpful, then you will want to sign up for my Newsletter which is always full of helpful quilting tips and tricks.
Sign up to my Newsletter here
When you sign up, you will receive a 20% Discount code that you can use Storewide in my store. In my Newsletter there is lots of information about all my upcoming patterns, special offers, where I will be teaching as well as great tips and tricks to help improve your quilting.
Happy Quilting
Jemima x


No comments:
Post a Comment
Note: Only a member of this blog may post a comment.