Sunday, October 16, 2022

Quilt Symposium - Wellington, New Zealand, 2022

What an amazing 8 days away at Quilt Symposium in Wellington, New Zealand.  I was so thrilled to be invited to teach at this event and boy did I love being back in the classroom teaching and also all the amazing inspiration I took from the trip.

Quilt Symposium was held in Lower Hutt, Wellington and completely run by an outstanding Quilt Group.  Seriously this was an event that hosted 1000 students and 40 Tutors and then there was everything that went into the behind the scenes and it was truly a remarkable job.

TEACHING

Over 4 days I taught 4 different classes.  In these classes I met some remarkable women from all over NZ and even a large number from AUS.  I really loved being able to share and show with these quilters all about my patterns and help them through making their chosen design.  Here are just a few of the pics I took of some of my students work.


EXIBITIONS
Held also in conjunction with all the teaching classes were many Exhibitions of makers work in all sorts of categories and collections.  This was so inspiring to see some amazing artistry in the Quilts and I was left not only wanting to come home and have a big clear out of my studio and take a new look at my fabrics and way of putting quilts together but also just so amazed at the details and work in these quilts.

"Lockdown life" by Robyn Croft

"Stolen Moments" Kathy Doughty

"Going Going, Goin" by Debra De Lorenzo

TUTORS

Have you ever heard of the saying - "Work so hard the people you admire become your colleagues" - well this couldn't be more true.  I really enjoyed meeting and catching up with so many Australian and NZ teachers who all have such amazing talents of their own.  I learned a lot from these amazing and very inspiring teachers and women.


SIGHTSEEING
When I wasn't teaching I was making sure to get out and about and experience all that Wellington has to offer.  Such a beautiful city and just a few highlights below.


WOW - World of Wearable Arts Awards


The event is held only in Wellington and is a cross between an amazing Arts Costume Display and Cirque Du Soleil. It's only on for 2 weeks and happened to be on at the same time as I was there.  This show was truly amazing and I was able to nab myself a last minute ticket the night before in the back row.  And being in the back row, was no less thrilling.  This really was such a feast for the eyes and incredibly inspiring.  I encourage you to check out @wow for loads of pics and videos of the event.

I had the most amazing 8 days aways and can't wait to see more of the finished quilts from my students as they finish them over the coming weeks and months.

Happy Quilting
Jemima x 

Friday, October 14, 2022

Measure Once Mini Quilt pattern release

Little did I know that quite a number of years ago when I designed the "When Life gives your Scraps" mini Quilt that this would start the series of well loved Sewing quote Mini Quilts.  Today I am adding number 7 to the collection....

Introducing the Measure Once Mini Quilt.


This new fun to make, play on words Measure Once Mini Quilt is all about the pitfalls most of make at sometime in our sewing projects.  Now I know most people know the saying as "Measure Twice, Cut Once" but as I said this was a play on words and just as true!

This applique quilt features a pennant style shape that you can add to any sewing space, make for your friends or create for a Mini Quilt swap project.

There are options in this design as well to customise it to your preferences.  If you don't like the word - "cuss" you can use "cut", maybe you prefer scissors to make it for a garment making friend - well these are also included.  You can of course also place the wording in the more traditional order.  It's up to you.

I made this mini quilt using Tula Pink's Tiny Beasts collection.  It is a great scrap buster or for smaller pieces you have in your stash.  Applique it by hand or machine.


If you are new to Applique or would love some tips then you can head here to my blog post that has all my favourite and best Applique Tips and Tricks.


The second version I made with Tilda's latest collection - Hometown.  You can see in this version how I changed out the wording and the notions.  So fun to make this design your own.  


For wholesale customers you can purchase the Mini Quilt through Creative Abundance here.

I hope you enjoy making this mini quilt and adding it to your collection.

Happy Quilting
Jemima x x

Monday, October 10, 2022

Patchwork Calendar 2023

I'm so excited to share something new! A patchwork calendar full of amazing creative designs and beautiful photos.

What is the 2023 Patchwork Calendar?

The 2023 Patchwork Calendar is a collaboration between 12 designers to bring you a gorgeous, printed calendar PLUS all 12 pdf patterns featured in the calendar. That's over AUD$200 (USD$130) worth of patterns, PLUS a printed calendar. AND, that's not all (no, not a set of steak knives) our designers have also included 10% off for the next year for items in their shops*.

So you get a pretty calendar to hang in your home or creative space and enjoy all year and 12 pdf patterns to sew. It's also the perfect gift for your patchwork friends!

The calendar will be available to purchase from Monday 10 October until Sunday 6 November. This is a limited-time offer.

On completion of purchase, within 24 hours you will receive an email with a link to download the pdf patterns. Please do so by the end of November 2022 as the links will be taken down.


Get the Calendar here

I'm excited to share that the 2023 designers are:

Some details about the calendar:

  • The calendar will be retailing at AUD$35, plus shipping. Which is amazing value: a printed calendar AND the 12 pdf patterns in the calendar PLUS a bonus pattern from Sew Quirky
  • Page Size: 21cm W x 29.7cm H (Rest of World), 8.5" x 11" (USA + CA)
  • 1 cover page, 12 or 24 inner pages, 1 blank page
  • Paper: 250 gsm / 100 lb semi-glossy silk paper
  • Hanging hook for hanging calendar flexibly
  • Sturdy wire-binding
  • Your calendar is printed exclusively for you when you submit your order​ and will be shipped within 2-3 working days.
If you are looking for a fabulous Christmas gift or present just for yourself this is just the perfect gift for under the tree.


Thursday, September 22, 2022

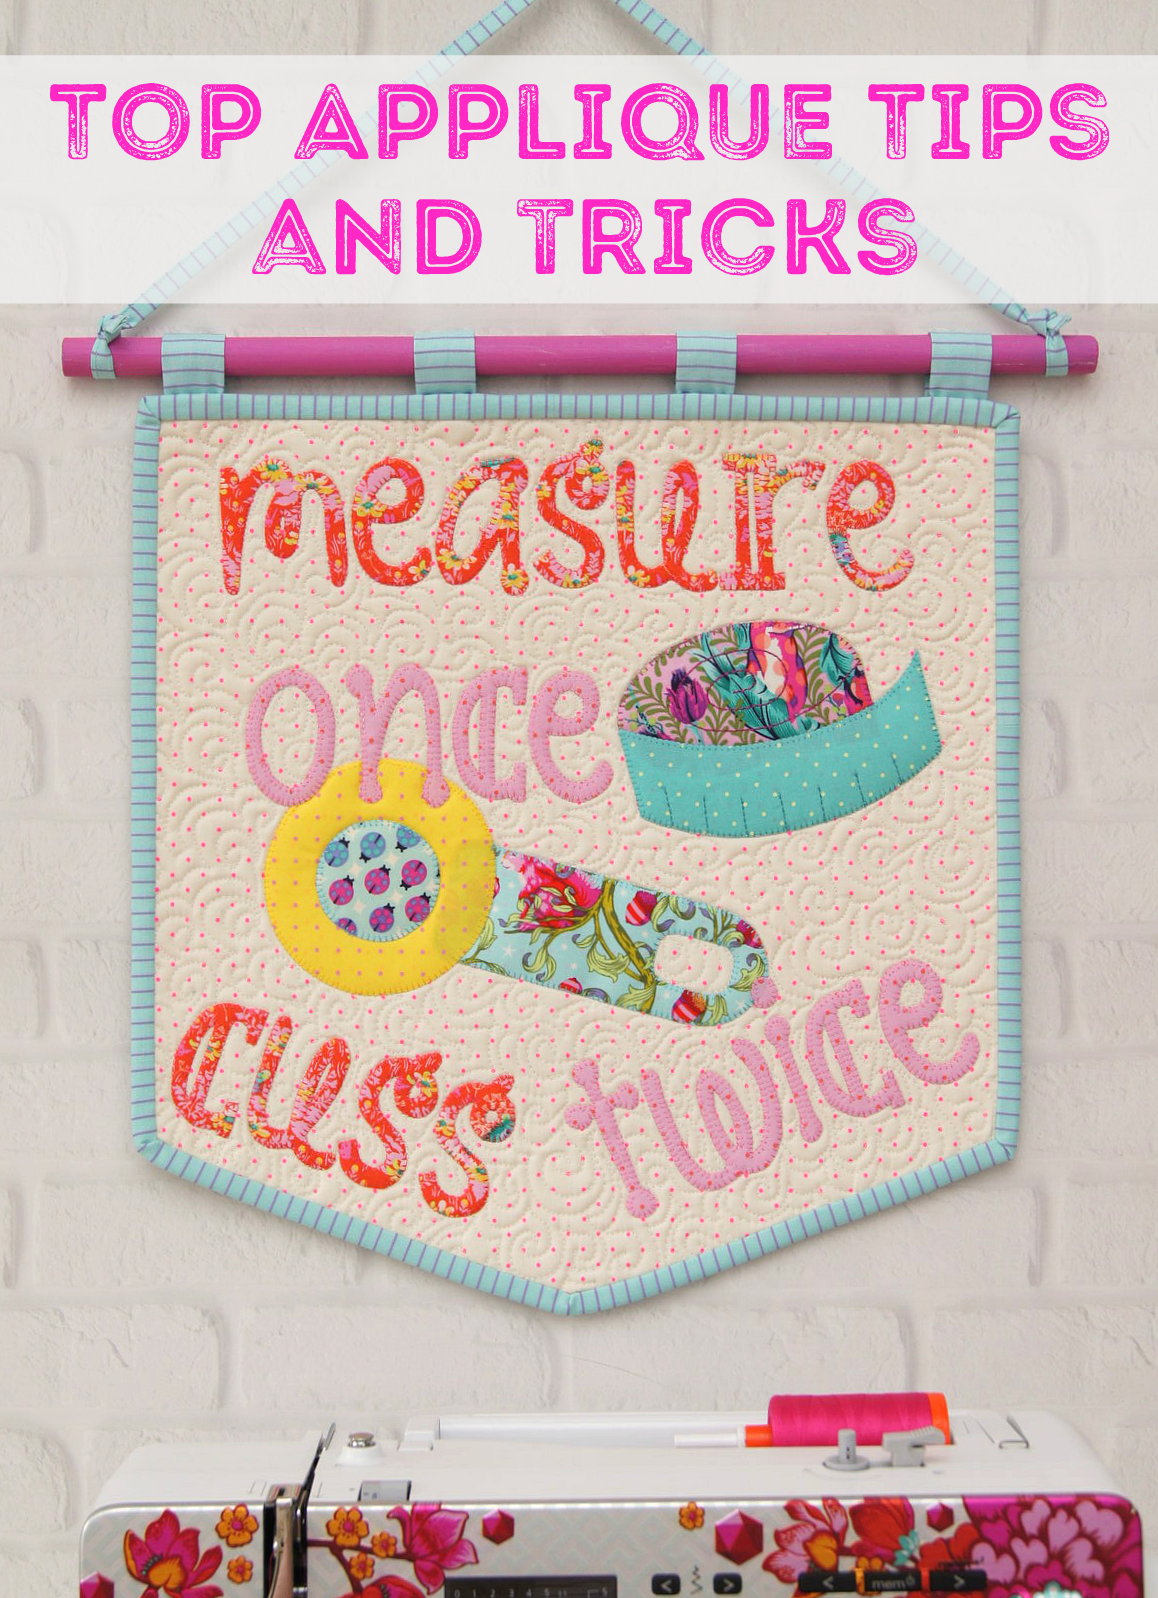
Applique Tips and Tricks

When it comes to Applique there are a few simple things you can do to really help ensure your project comes together very professionally and easily.  The process is very much step by step and preparation is one of they factors for success.

With the right tools and some simple tips you will be setting yourself up for not only an enjoyable time sewing but be so thrilled with your results.

Tools for Applique

Fusible Web – Heat and Bond Lite or Flexi Fuse are my preference

Mechanical Pencil – gives for a more accurate drawn line

Best Press (starch spray)

Threads in different varieties – I like Robison-Anton Rayon Embroidery Thread for its sheen.  Aurifil 28wt is also great.

Universal Needles – Size 80/12

Open Toe Sewing Machine Foot

Paper and fabric scissors

Stabilizing your Applique for Sewing

When it comes to sewing your Applique, there are many options to stabilize your fabrics to make it easier to sew onto the Applique.  There are different types of stabilizers you can use on the back of your fabric like “Stitch and Tear”, “Shape-Well” some of which you fuse to the back of the background fabric and some which come away after sewing.  It really can be a personal preference.

I like to stabilize my Applique by spraying “Best Press” onto the Applique shapes till damp, then iron dry.  

Tips

  • Use a matching coloured cotton thread in your bobbin to your choice of Top-Stitching thread.  This saves any tension issues and while it may take longer to change these – it will result in a more professional finish.
  • Sew all of the same colour pieces at the same time – sew all the red, then all the blue etc...  
  • A fresh needle will make a big difference to your Applique.
  • I like to use Heat and Bond or Flexi Fuse when only working with one layer of Applique as it is heavier and sturdier for sewing onto.  If you are using multiple layers of Fusible Web, then Vliesofix works well in this situation.
  • Cut your block a little bigger than the size required – this means you can square it up later after you have finished your sewing incase of any fraying or distortion.


Which Stitch??

Don’t just think that when it comes to sewing Applique, you have to use Blanket stitch.  Whether sewing by machine or hand there are so many choices you can make for stitches.  

Some of my favourites are:

Blanket Stitch – this is great when you are making a quilt that will need lots of durability.  I tend to use this a lot of kids quilts as it withstands washing well.

Triple Stitch – this is a stitch on your sewing machine you may not have known you had.  Just as the name suggests each stitch goes – Forward, Back Forward creating a bolder stitch. I like to use this on more decorative pieces – so when I know it is not going to be washed or handled a lot – e.g., Mini Quilts, Wall Hanging’s.

Raw-Edge Applique – is when you stitch around the Applique shape, stitching just inside the raw edge, using a smaller stitch length to go around the shape.  Quite often you will go around the shape twice and is often done in a contrasting colour thread to the fabric. 

Looking for Inspiration

Check out these Tied with a Ribbon patterns if you are looking for some great, beginner friendly Applique Mini Quilts, Quilts and Pillows. You can see my entire range of Applique Patterns here.


Happy Quilting

Jemima x 

Sunday, September 11, 2022

Log Cabin Toss Quilt Along - Week 5

Week 5 is here - the final week of the Log Cabin Toss Quilt Along.


Well I can't believe we have come to the final week of the Log Cabin Toss Quilt Along.  I am beyond humbled by all those who have joined in and for all the love this pattern of mine has been shown.  A massive thank you to you all for your support - it really does mean so much to me.


So this week is all about finishing your Quilt top as well as getting your Quilt Top ready for Quilting, Binding and being able to then finish it up.  I have put together some tips and links below which I hope will help you with the decisions for this next part of the process with how you will finish it.


QUILTING DECISIONS 


When it comes to deciding on how to Quilt your Quilt - you have lots of options.


Quilt It Yourself - for those keen to quilt your own Quilt there are lots of ways you can tackle this.  You can simply quilt tram lines either sides of all the seam lines for simple but effective quilting.  You can get as adventurous as you like with Free Motion Quilting or even more detailed straight line quilting.  Or how about Cross-Hatching over the entire quilt or even using a Large Zig Zag stitch without needing a lot of experience.


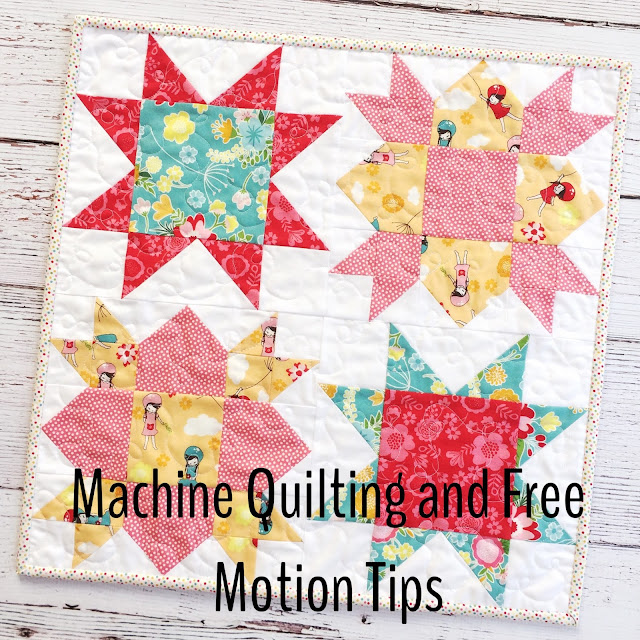
For those wanting to give Free-Motion Quilting a go or already are familiar with this Technique, check out this Blog Post I wrote all about Machine Quilting.  I hope this gives you some helpful tips.


Send it to a Professional - you can send your quilt to a Long Arm quilter who can either do and Edge to Edge Design or Custom Quilt your finished Quilt.


Hand Quilt it - if you love the look of hand quilting or have ever wanted to give this a go, head over and check out all my best Hand Quilting Tips and Tools here.  There is nothing more satisfying than the look of perfectly imperfect hand made stitches in a quilt.


BINDING YOUR QUILT


Once you have your Quilt all Quilted - now you can turn your attention to Binding your Quilt. There are so many Tutorials for how to bind you Quilt if you Google.


I have put together a Tutorial on how to work the Binding continuously around the corner when you sew it onto the top of your Quilt – it’s a small but very helpful and useful way to sew your Binding all on in one go.  Check it out here.


When it comes to sewing the Binding down I have put together a Reel for how I Invisibly sew my Bidning down to the back of my quilt.  You can check it out here.


So this weeks task is to post a pic to Instagram using the hashtags #logcabintossqal, #logcabintossquilt and #tiedwitharibbonpatterns of your blocks, finished Quilt top or progress to date.  Get creative, I have loved seeing the posts and reels you have been putting up so far.  It helps to tag me - @tiedwitharibbon to make sure I see your post and of course your Profile has to be set to Public for me to see it.  


A massive thank you again to everyone who has bought my Pattern(s) and participated in the Log Cabin Toss Quilt Along - I am so blown away by how many of you from all over the world have joined in and just in love with your fabric choices and how your quilts have come together.


Thank you , Thank you, Thank you

 Jemima x x 

Sunday, September 4, 2022

Log Cabin Toss Quilt Along - Week 4

Week 4 of the Log Cabin Toss Quilt Along is here!


So this week is all about finishing your blocks as well as getting your Quilt Top ready for Quilting, and Binding and being able to then finish it up in week 5.  I have put together some tips and links below which I hope will help you with the decisions for this next part of the process with how you will finish it. By the end of this week your Quilt top will be all together.
 

Adding your Borders


Do you sew on your borders only to have them flared or wavy? Well, here are the steps to avoid this when sewing on borders to your quilt tops. 

You need to measure and cut the Borders to size. Don’t sew a border strip on and then cut to size (this is exactly the cause of it being wavy or flared)


Here’s how to measure and sew on borders for a spot on finish.

1. The border strip needs to be the accurate length. Not just a strip laid on top and then sewn and cut after.
2. With your tape measure, measure the quilt top left hand side and write down the exact measurement. Repeat for the right.
3. Take the average of the two measurements. 
4. Cut your border strips to this length.
5. Fold your first border strip in half and place a pin at halfway and each quarter. Do this for the quilt sides and border strips. 
6. Pin the border strip to the quilt top matching the pins.
7. Sew border strip. 
8. Repeat for the top and bottom.
9. Admire your square quilt top.


So this week’s task is to post a pic to Instagram using the hashtags #logcabintossqal, #logcabintossquilt and #tiedwitharibbonpatterns of you sewing together all your blocks and adding your border so that you have a finished Quilt top.  Get creative, I have loved seeing the posts and reels you have been putting up so far.  It helps to tag me - @tiedwitharibbon to make sure I see your post and of course your Profile has to be set to Public for me to see it.  


Happy Quilting

Jemima x 

Related Posts Plugin for WordPress, Blogger...